
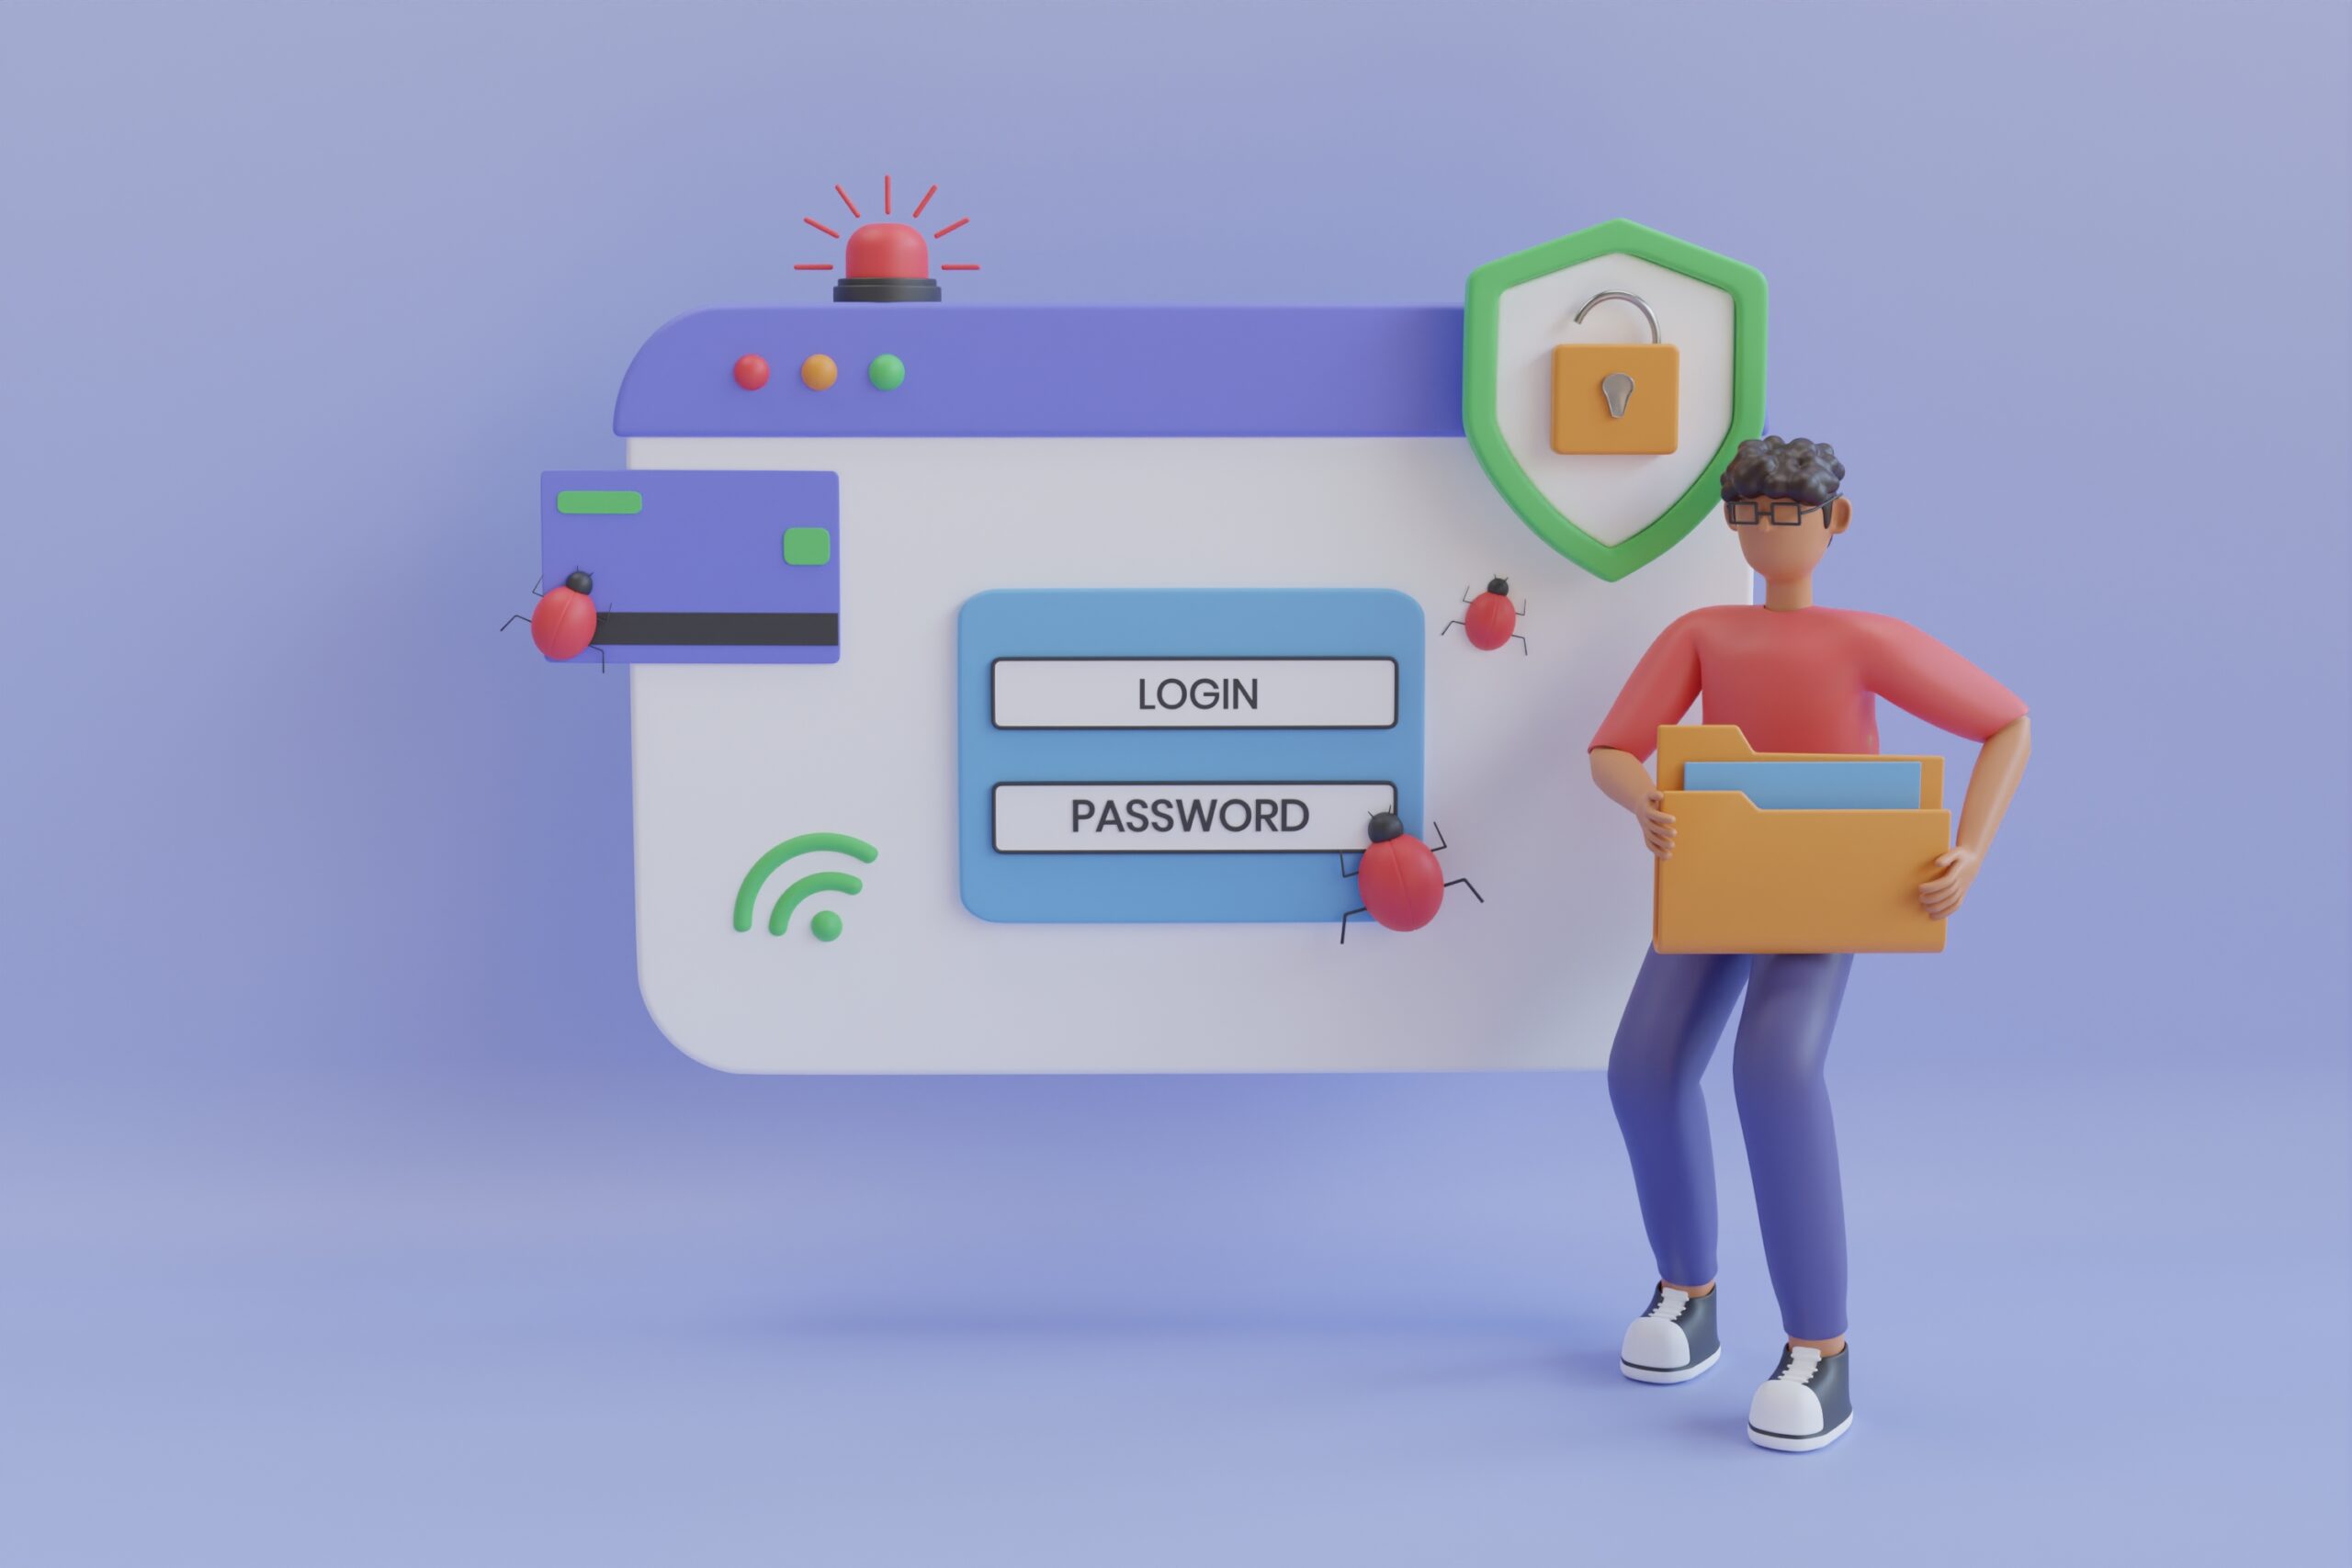
In the vast digital landscape, WordPress websites are a prime target for cyberattacks. One of the most effective ways to enhance your website’s security is by customizing the default wp-admin URL. In this comprehensive guide, we’ll explore how to achieve this with the “WPS Hide Login” plugin, bolstering your WordPress site’s defenses and safeguarding your valuable content from potential threats.
Step 1: Install and Activate the WPS Hide Login Plugin
- Log in to your WordPress dashboard and navigate to “Plugins” > “Add New.”
- Search for “WPS Hide Login” in the plugin repository and click “Install Now.”
- Once installed, click “Activate” to enable the plugin.
Step 2: Access the Plugin Settings & Configure Your Custom Login URL
- After activating the plugin, find the newly added “WPS Hide Login” option in your WordPress dashboard under “Settings.” Click on it to access the plugin settings page.
- On the “WPS Hide Login” settings page, you’ll find an option to “Hide wp-login.php.”
- Input your desired custom login slug in the provided field. Choose a unique, memorable, and non-predictable slug. For example, you can use “my-login” or “secure-login.”
Step 3: Save Your Changes
- After setting the custom login URL, scroll down and click the “Save Changes” button at the bottom of the page to apply the settings.
Step 4: Test the New Login URL
- Log out of your WordPress dashboard (if you were previously logged in) to test the effectiveness of the changes.
- Access your website’s login page using the custom login slug you set. For example, if you chose “my-login,” the new URL would be “https://www.yourdomain.com/my-login.”
Why Customize Your wp-admin URL?
By customizing your wp-admin URL with the “WPS Hide Login” plugin, you add an additional layer of security to your website. The default wp-admin URL is a common target for hackers and brute-force attacks. Changing it to something unique and less predictable makes it considerably more challenging for malicious actors to find your login page.